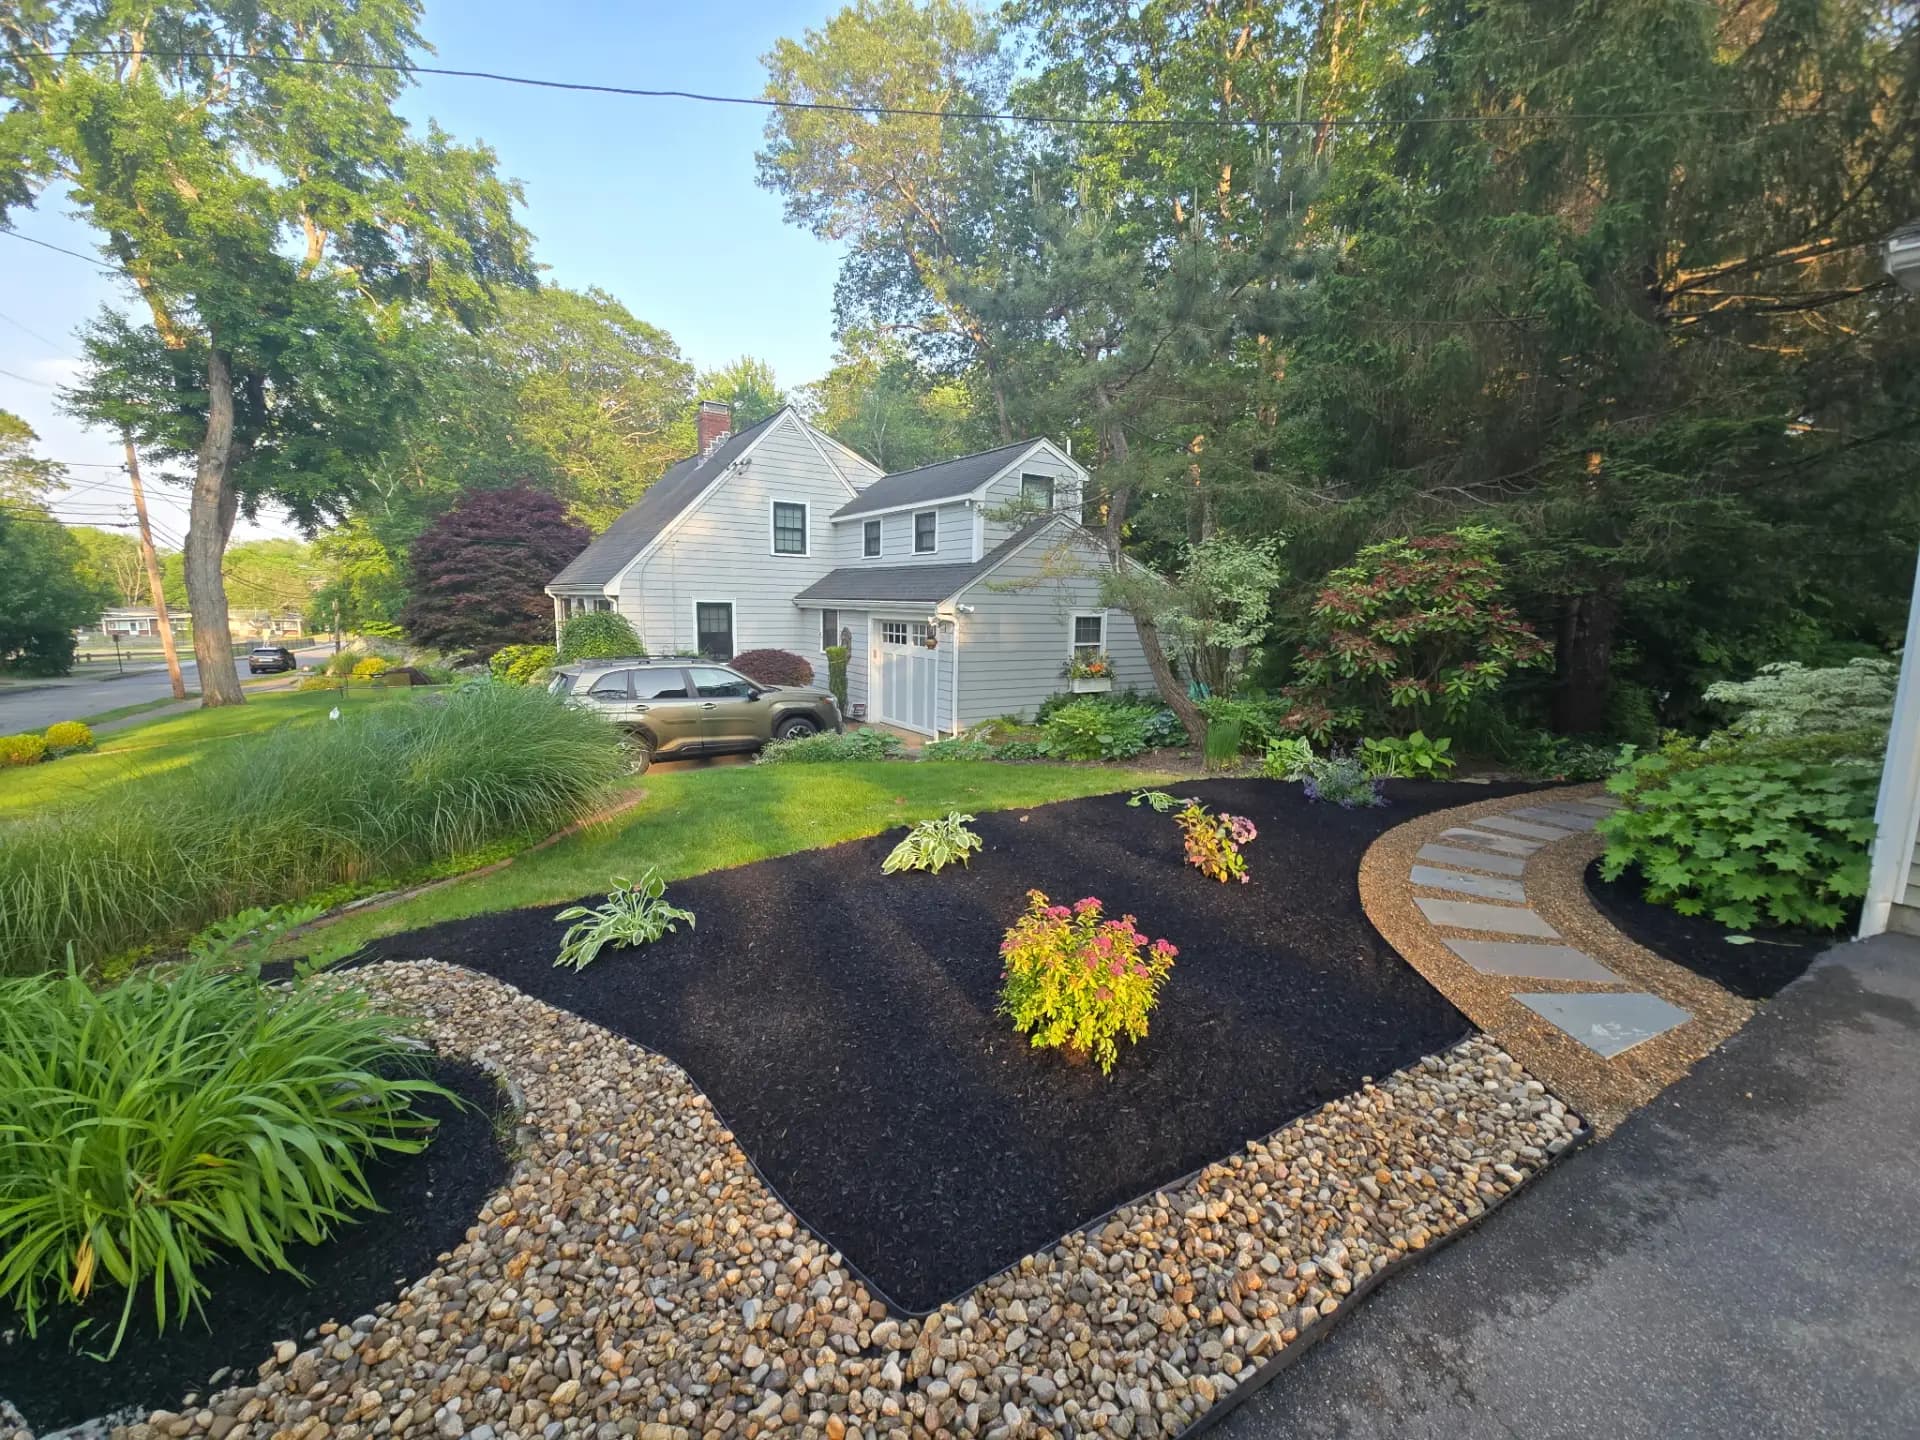
The most useful spring garden work often happens before a plant is purchased. A sound plan starts with the property's conditions, then narrows the plant list. This order reduces guesswork and makes it easier to phase the work over more than one season.
Step 1: Define the garden's job
Write down what the space needs to do. Possible goals include seasonal color, a view from a window, screening, a path edge, pollinator habitat, erosion protection, or a lower-maintenance replacement for part of a lawn. Rank the goals so one bed is not expected to solve every problem.
Also define acceptable maintenance. Watering during establishment, weeding, pruning, dividing, and replacing failed plants are real tasks. A garden described as low maintenance still needs a plan for them.
Step 2: Map sunlight through the growing season
Observe the site in the morning, midday, and afternoon. Record buildings, fences, slopes, and deciduous trees that change the light pattern. Early-spring sun beneath a leafless canopy does not prove that the same bed will receive full sun in July.
Use the plant supplier's light definitions and compare them with observations from the actual bed. When conditions are borderline, favor plants that tolerate the range rather than relying on an optimistic estimate.
Step 3: Test soil before buying amendments
Do not assume every Massachusetts property has the same pH or nutrient profile. The UMass Soil and Plant Nutrient Testing Laboratory publishes current sampling instructions, forms, and fees. Follow its current process instead of using an old price or applying lime, phosphorus, or another amendment from a generic checklist.
Take separate samples when beds have visibly different soil, drainage, or past use. Keep the results with the garden plan so later changes can be compared with a known baseline.
Step 4: Check drainage and water movement
After rain, record where water collects, how long the soil stays saturated, and whether runoff moves toward a structure, walkway, neighboring property, or eroded area. Do not solve a drainage problem by selecting plants alone when grading, downspouts, compacted soil, or another source needs separate evaluation.
For irrigation, decide which beds truly need supplemental water and how new plants will be supported during establishment. Existing irrigation coverage should be checked rather than assumed.
Step 5: Verify hardiness for the address
The USDA Plant Hardiness Zone Map is an address- and ZIP-specific planning tool based on average annual extreme minimum temperature. It is one input—not a guarantee of success. Exposure, wind, snow cover, drainage, summer heat, and plant condition also matter.
Avoid a blanket statement that all of Massachusetts, or even every property in one town, shares a single zone or microclimate.
Step 6: Build a short, source-checked plant list
For each candidate, record:
- botanical and common name;
- mature height and width;
- light and moisture range;
- verified native status, when that is a goal;
- bloom or seasonal-interest period;
- establishment and long-term care;
- any known toxicity, invasive, or legal concern relevant to the property.
The Massachusetts Department of Agricultural Resources maintains native and pollinator plant-selection resources. Use a current regional source rather than treating “native,” “drought tolerant,” or “deer resistant” as universal labels.
Step 7: Draw structure before filling gaps
Sketch the bed to scale. Mark mature plant widths, paths, utilities, windows, doors, mechanical equipment, and access for maintenance. Place the long-lived structural plants first, then add repeated groups of perennials or groundcovers. Check the plan from the main viewing points rather than only from inside the bed.
Step 8: Phase installation deliberately
A phased project can begin with drainage or soil correction, then structural plants, then smaller infill plants. This allows the homeowner to observe the site between phases. Protect open soil during the transition and keep new beds manageable enough to maintain.
When mulch is appropriate, follow UMass mulch guidance: choose a material for the site, use an appropriate depth, and keep it away from trunks and stems. More mulch is not automatically better.
Before installation
Use this final check:
- The garden has one or two clear priorities.
- Sun and drainage were observed, not guessed.
- Soil amendments follow a current test.
- Hardiness was checked for the property.
- Each plant has verified site requirements and mature dimensions.
- Utilities, access, water, and maintenance are accounted for.
- The installation can be paused safely between phases.
For property-specific planning, the garden design, irrigation, and mulching pages outline topics that can be discussed. Use the contact form to request an estimate and confirm whether the location, scope, and current availability are a fit.